.png)
Petit Beurre Blackberry Cheesecake: A Step by Step Guide
- Ola Pham
- Dec 29, 2024
- 4 min read

About the dessert
Classic New York style cheesecake is a rich and creamy dessert that has won the hearts of many. Its smooth texture and delightful flavor make it a perfect treat for any occasion. This blog post will guide you through a simple yet effective recipe for making an American cheesecake with a twist paired with a refreshing blackberry gel.

Dessert origin
The classic American cheesecake has its origins in ancient Greece, where cheesecakes were served to athletes during the first Olympic games in 776 B.C. However, its modern form evolved in the United States in the late 19th century, when cream cheese was invented by a dairyman named William Lawrence in 1872. This creamy cheese became the base ingredient for what we now recognize as New York-style cheesecake, popularized in the 1920s by immigrants who brought European cheesecake traditions to America. It turns out, the American cheesecake isn’t so American after all!
What Makes a Cheesecake Classic?
At the heart of a classic American cheesecake lies the combination of cream cheese, sugar, eggs, and a crust made from crushed graham crackers. However, my cheesecake recipe has been slightly tweaked to bring a more innovative spin to it. Trust me, it is just as delicious 😉
The key elements that define a cheesecake are:
Cream Cheese: Offers a rich flavor and creamy consistency.
Buttery Crust: Provides a sweet and crumbly base that complements the creaminess of the filling.
Simplicity: The recipe is straightforward and requires minimal ingredients, making it accessible for both novice and experienced bakers.
The Ingredients You Will Need
For the crust:
200g of Petit Beurre biscuits
95g (7 tbsp) of melted butter
For the cheesecake:
1kg of cream cheese
200g of granulated white sugar
2 tbsp of flour
1/2 tsp of salt
3 tsp of lemon juice (half a lemon)
2 tsp of lemon zest (zest of a full lemon)
4 tsp of vanilla extract or sugar
4 eggs at room temperature
130g of sour cream
For the blackberry gel:
200g of fresh or frozen blackberries
3tbsp of granulated white sugar
3 tsp of lemon juice (half a lemon)
Preparing the Crust
Preheat the Oven: Set your oven to 190°C.
Preparing the crumbs: Use a food processor to crush up the biscuits. If you do not have a food processor, don’t worry. You can put the biscuits in a plastic zip lock bag and then use a cup or rolling pin to crush up the biscuits. Try to make them as fine as possible.
Mix the Ingredients: In a mixing bowl, combine the Petit Beurre biscuit crumbs and melted butter. Stir until the crumbs are well coated.


Form the Crust: Press the crumb mixture evenly into the bottom of a 9-inch (23cm) springform pan. Make sure it's compact by pressing firmly with a measuring cup or your fingers.


Bake the Crust: Bake the crust for about 10 minutes or until lightly golden. Remove from the oven and set aside to cool.
Once the pan has cooled down, use aluminum foil to wrap around the bottom of the pan to prevent water entering the cheesecake (further instructions and advice on this can be found in the advice section below).
Reduce the oven temperature down to 160°C.
Making the Cheesecake Filling
Blend the Cream Cheese: In a large mixing bowl, beat the softened cream cheese with a mixer until smooth and creamy.
Add Sugar and Flour: Gradually add the sugar and flour, continuing to mix for 1 minute until well combined.


Add Aromatics: Add the vanilla extract, lemon zest, lemon juice and salt to the mixture and mix until well combined.


Incorporate the Eggs: Add the eggs one at a time, mixing well after each addition. Be careful not to overmix, as this can lead to cracks in your cheesecake.


Pour the Filling into the Crust: Pour the creamy filling over the cooled crust, smoothing the top with a spatula.
Tap the pan on the table a few times to get rid of any air bubbles inside the cheesecake mixture.

Baking the Cheesecake
Prepare the Oven: Bake the cheesecake in the preheated oven for about 70-80 minutes, or until the edges are set but the center is still slightly jiggly.
Create a water bath: Pour boiling water into the baking tray until it covers about 3-4cm of the pan.
Cool the Cheesecake: Turn off the oven, crack the door, and let the cheesecake cool inside for about an hour. This helps prevent cracks on the surface.
Chill: After cooling, refrigerate the cheesecake for at least 4 hours, preferably overnight, to allow it to set completely.
Making the Blackberry Coulis
Cook the Blackberries: In a saucepan over medium heat, combine the blackberries, sugar, and lemon juice. Stir gently and cook until the mixture boils and the blackberries break down, about 5-7 minutes.


Add in agar agar: Blend up the blackberry mixture until smooth and add in the agar agar powder. Continue cooking the gel for another 2 minutes.


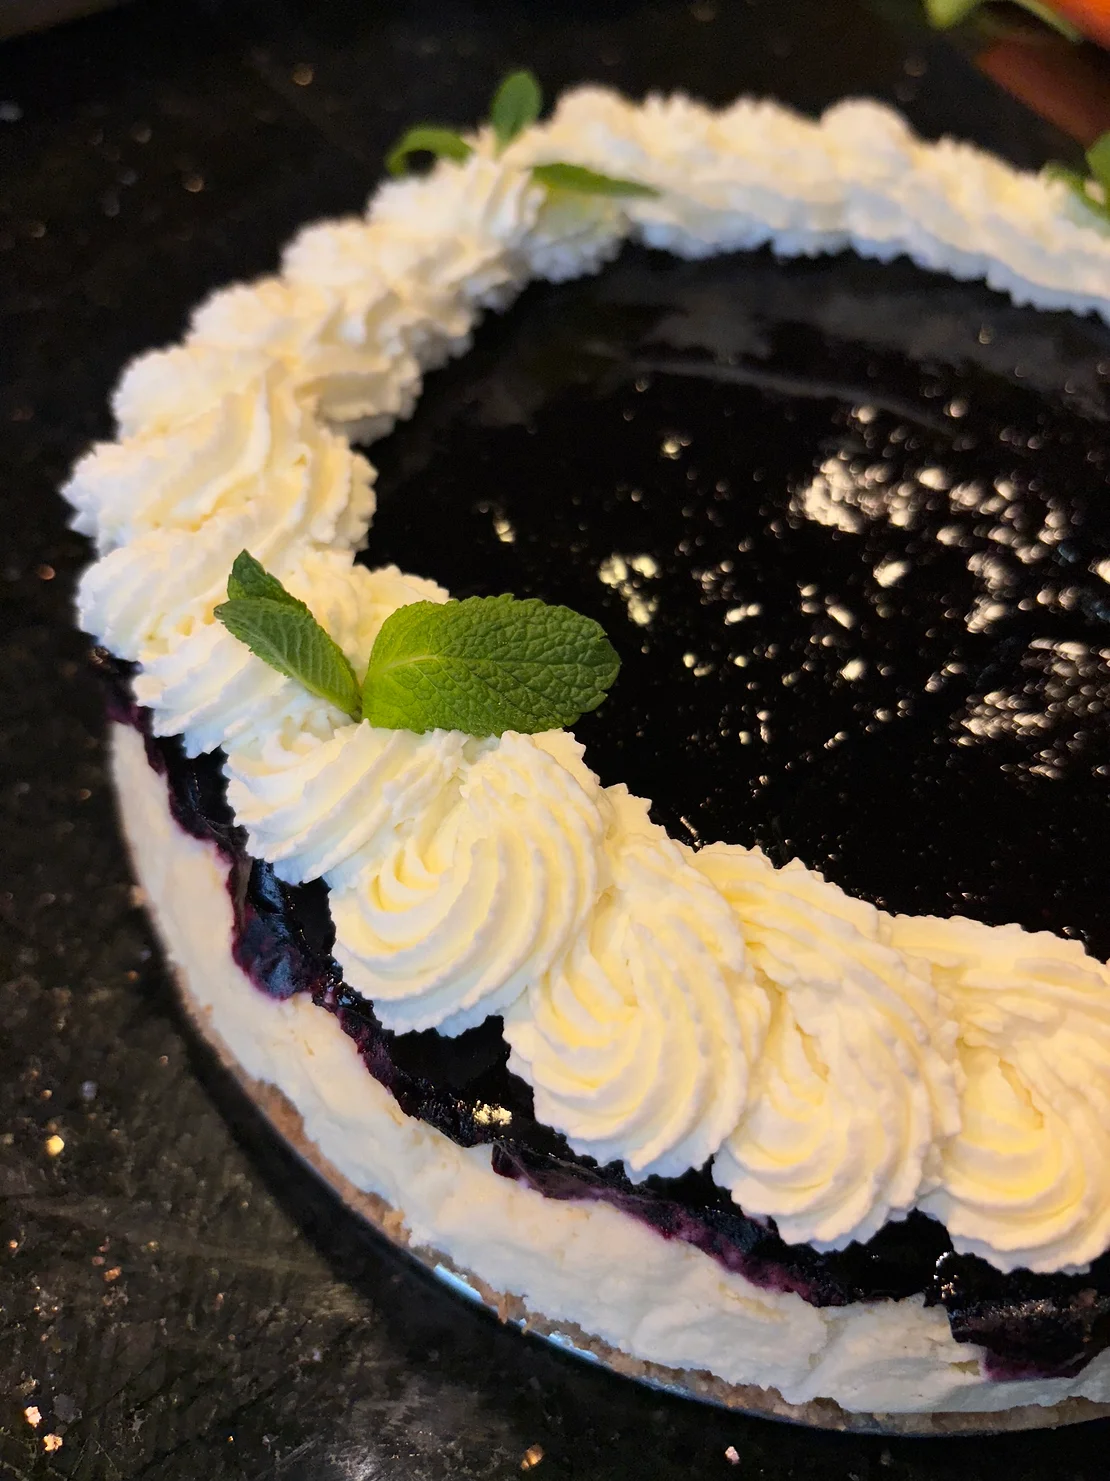
Assemble: Allow the blackberry coulis to slightly cool before pouring it on top of the cheesecake. It can be made ahead of time and stored in the refrigerator.
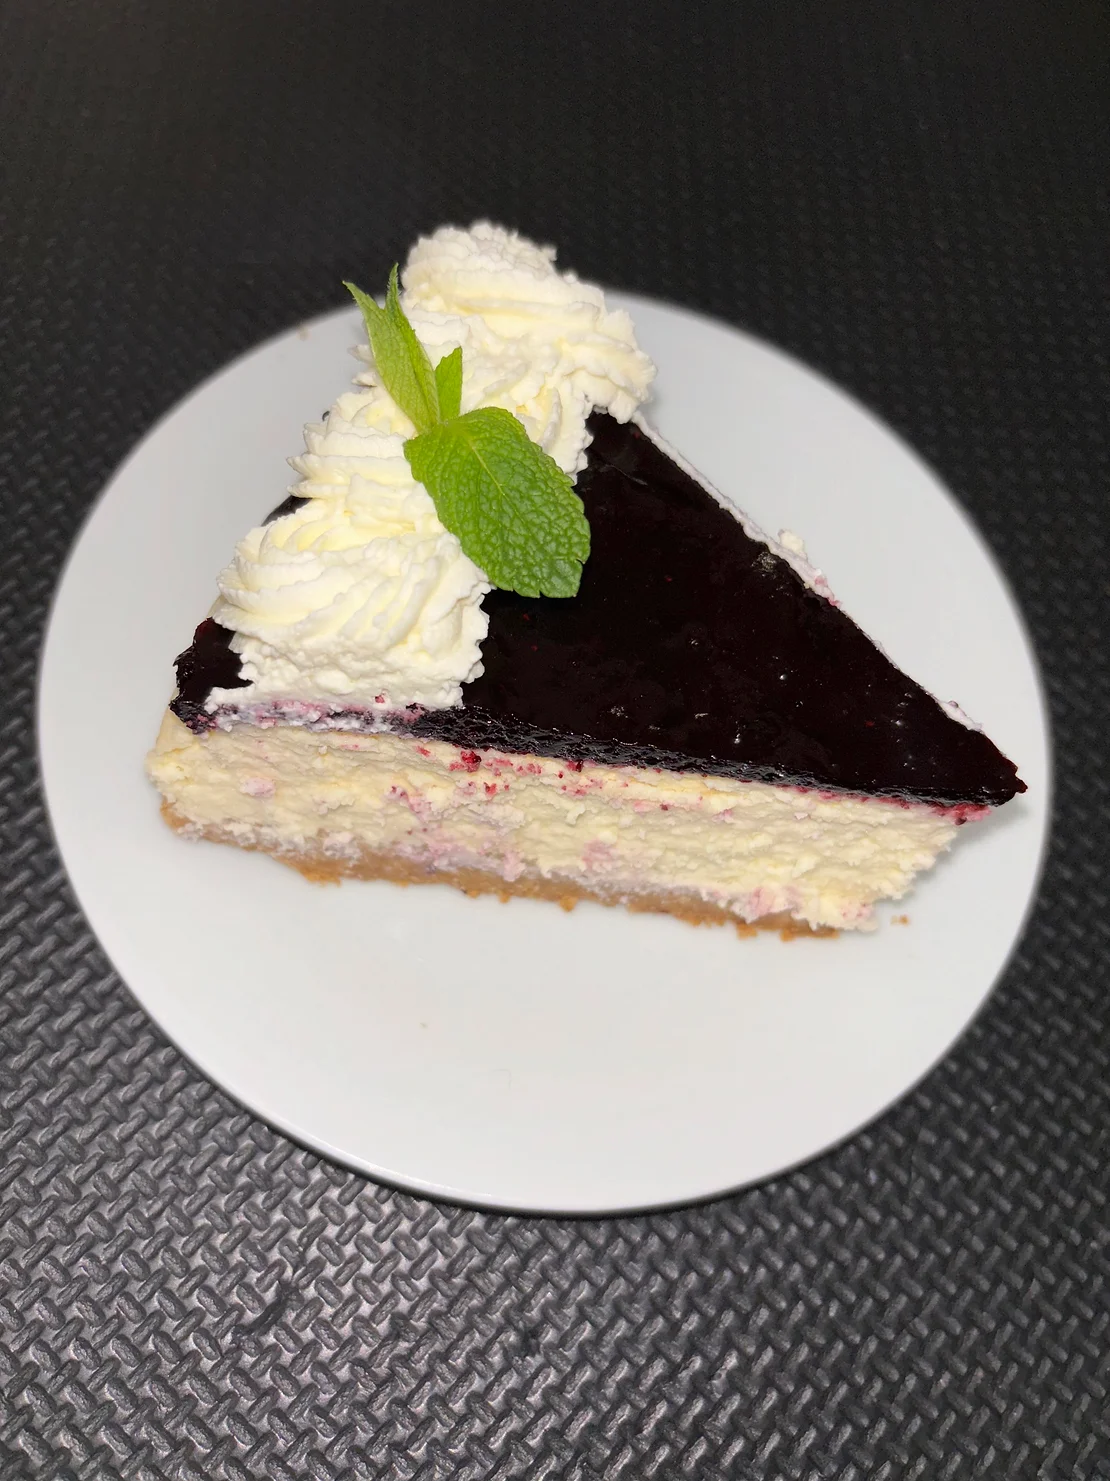
Serving Your Cheesecake
Garnish Options: For an elegant touch, consider garnishing with fresh fruit, whipping cream or a sprig of mint.
To achieve optimal results, serve your cheesecake chilled.
Tips for Perfect Cheesecake
Use Room Temperature Ingredients: Ensure that your cream cheese and eggs are at room temperature for easier mixing and a smoother filling.
Don't Overmix: Mixing too vigorously can introduce air into the batter, which may lead to cracks during baking.
Baking Water Bath: For extra creaminess and to help prevent cracks, consider baking the cheesecake in a water bath. Place the springform pan in a larger baking dish filled with hot water.
Flavor Variations: Feel free to experiment with flavors! Add chocolate, vanilla bean, or citrus zest for a unique twist.
Conclusion
Making a classic American cheesecake with a blackberry gel may seem intimidating, but with this step-by-step guide, you can create a delicious dessert that’s perfect for any gathering. The creamy texture of the cheesecake combined with the tart raspberry coulis makes for a delightful contrast that everyone will love. So roll up your sleeves and start baking—your taste buds will thank you!


Comments